Hole-by-Hole
The Duke’s 18 hole course is set up as two loops of 9 holes. Five separate tee positions on each hole offers both flexibility in overall course length and difficulty to appeal to golfers of all abilities.
The Duke’s Course Guide
-
![]()
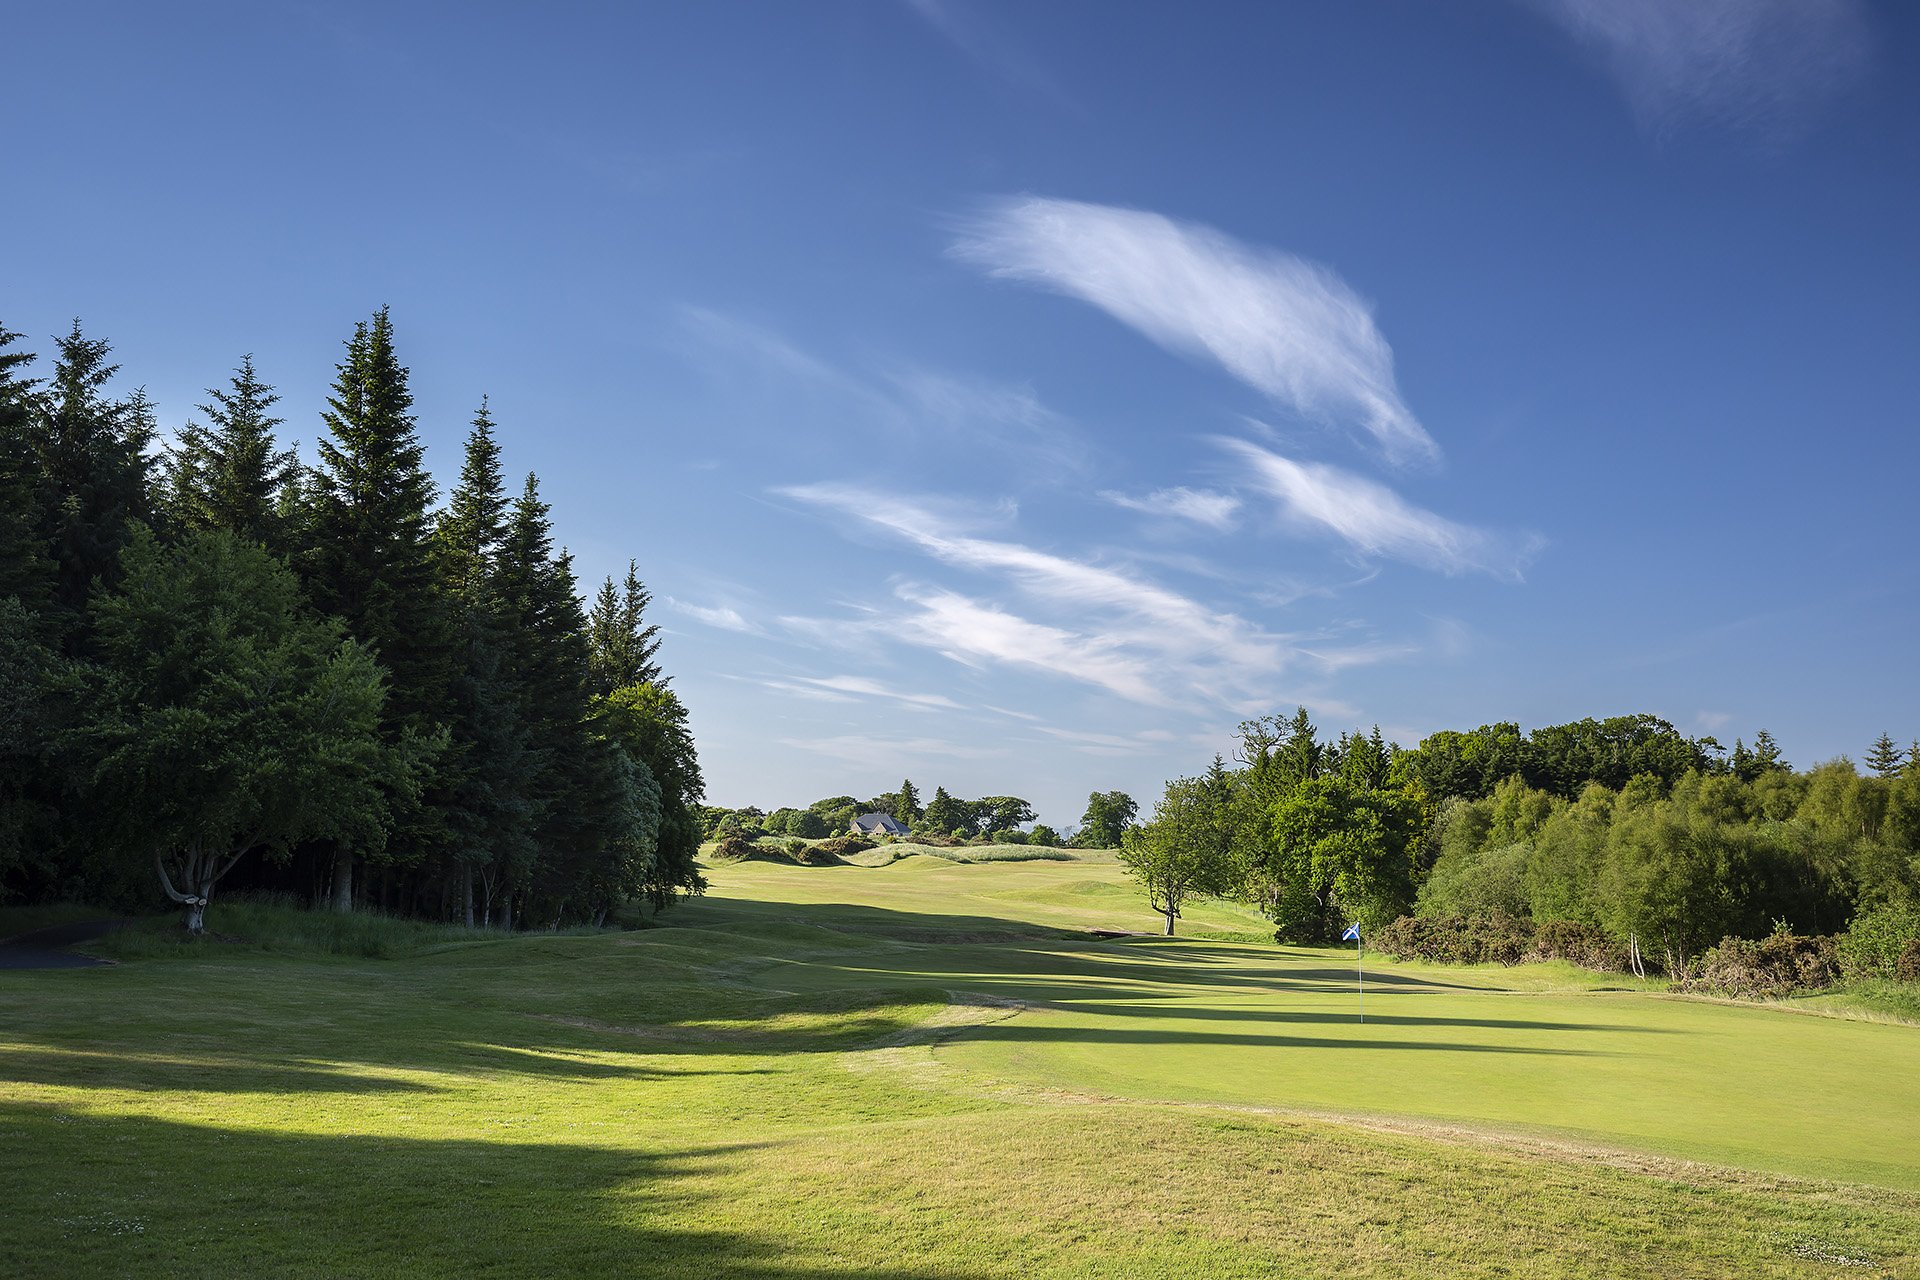
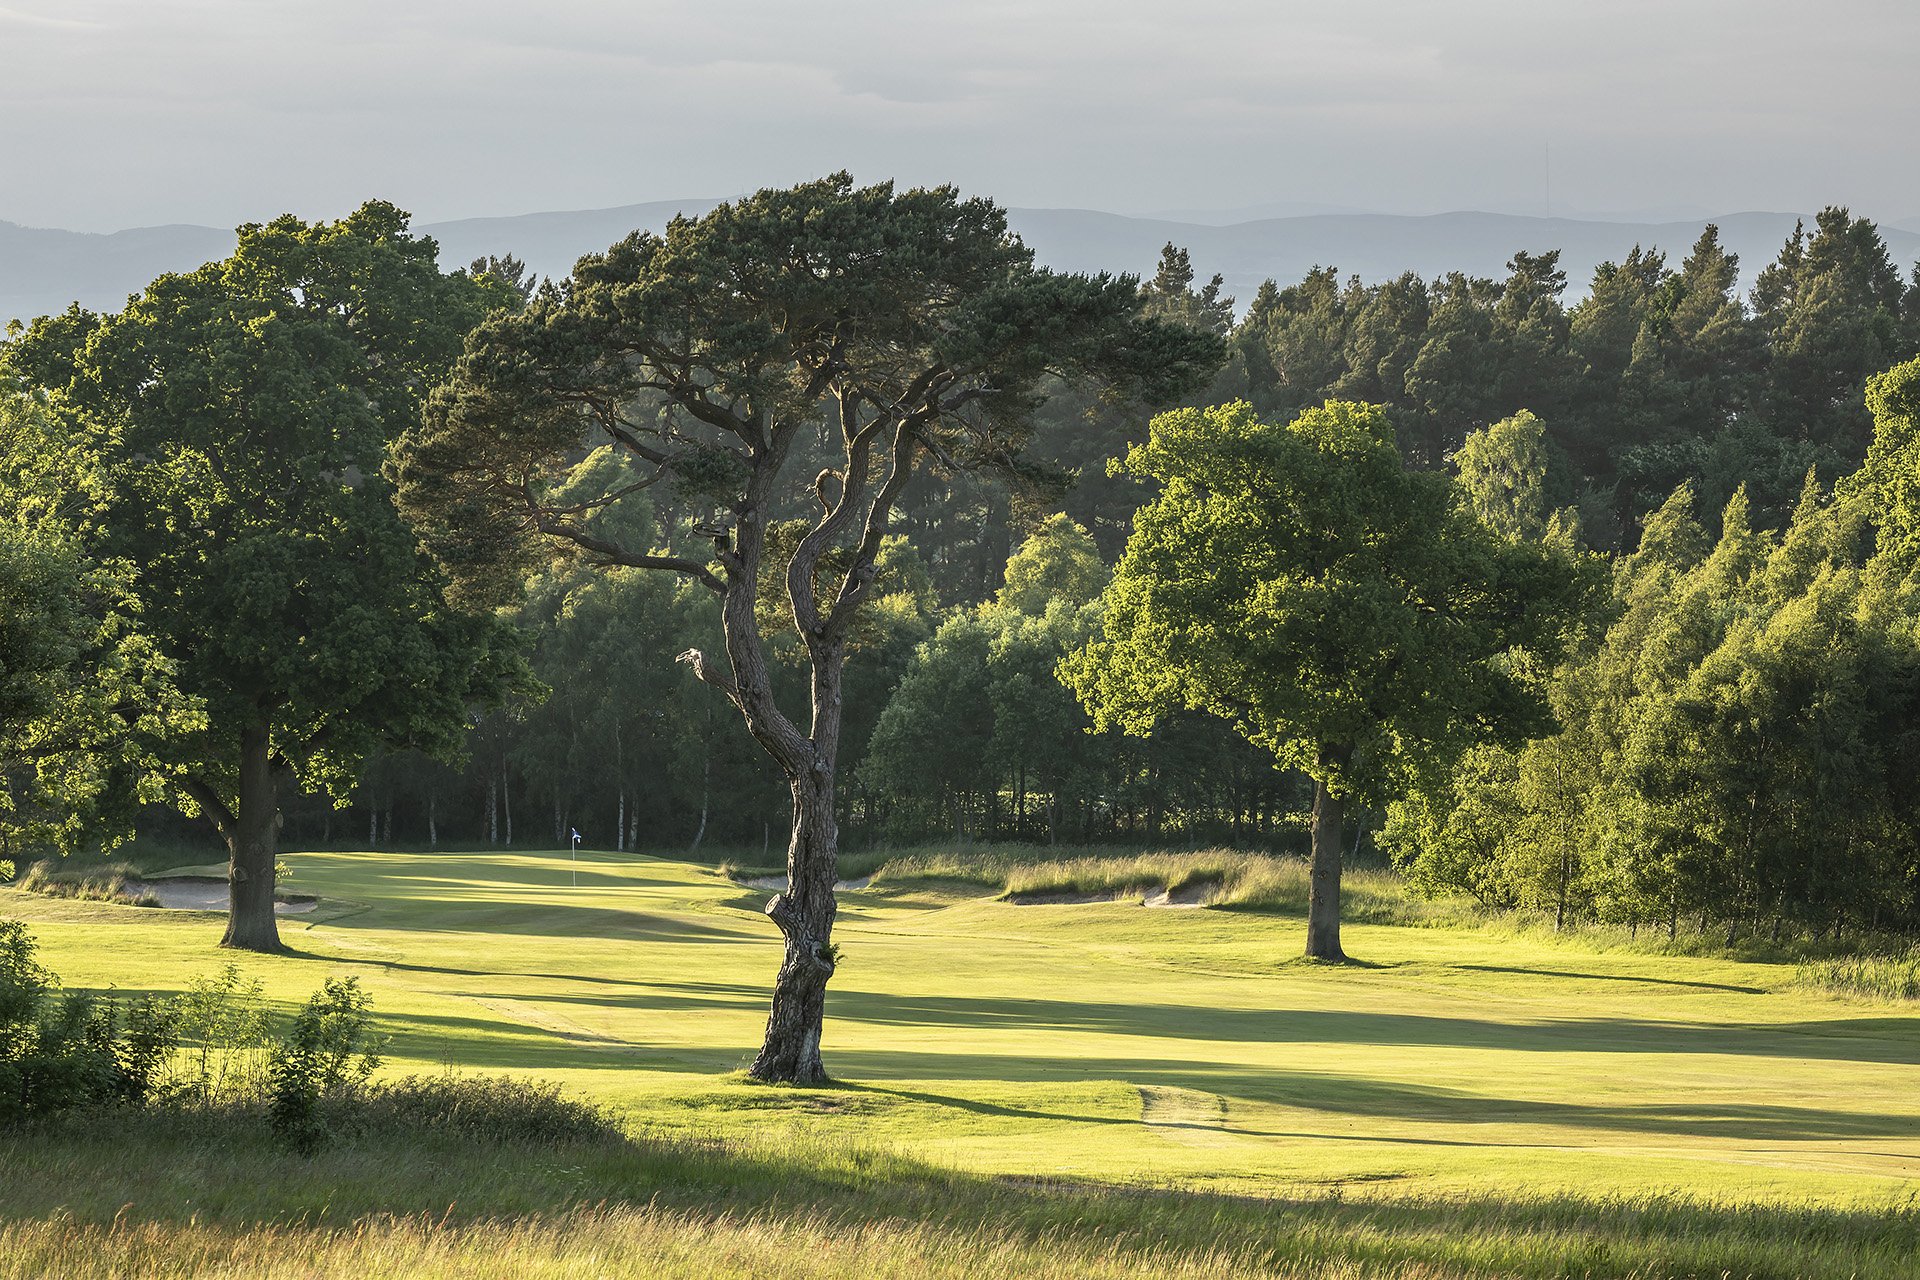
No.1 Burn Brig
A conservative-length tee shot with a line to the left edge on the distant bunker from the tee is perfect on this sharp dogleg left par 4. Be aware, a more conservative tee shot to the right of this fairway bunker will result in a longer approach shot to an elevated green. Should you find yourself in a position from the tee with a chance to go for the green, an approach shot from the right of the green is preferred to avoid a deep greenside bunker left.
-
![]()
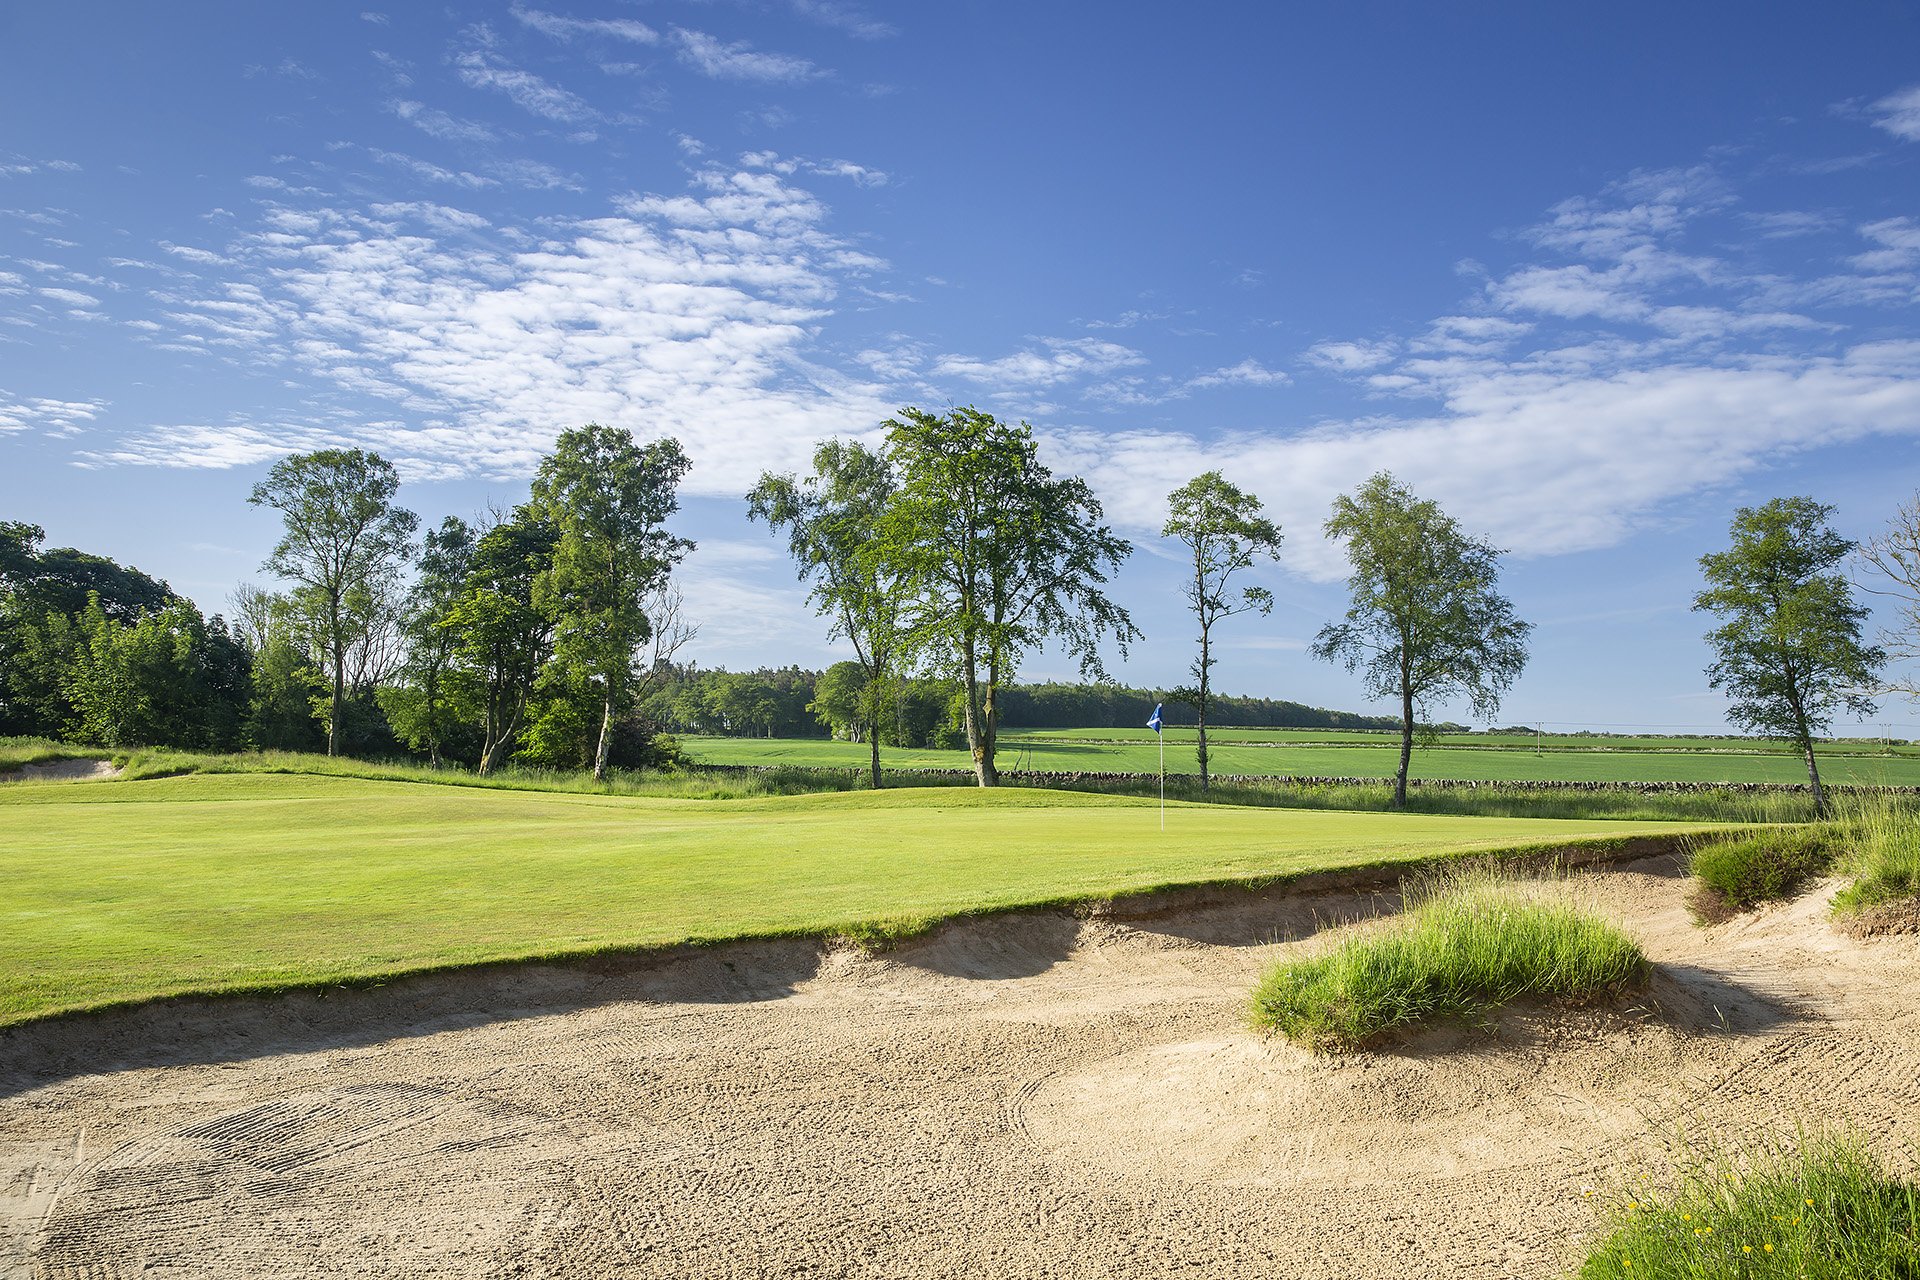
No.2 Winthank
This long par 5 is well bunkered on the left from the tee. Anything to the right of the first bunker complex will leave you a simple lay up short of the somewhat-hidden burn guarding the front of the green’s approach. The wise play short of the burn is rewarded with a short approach to this two-tiered green, which is protected by sand greenside left.
-
![]()
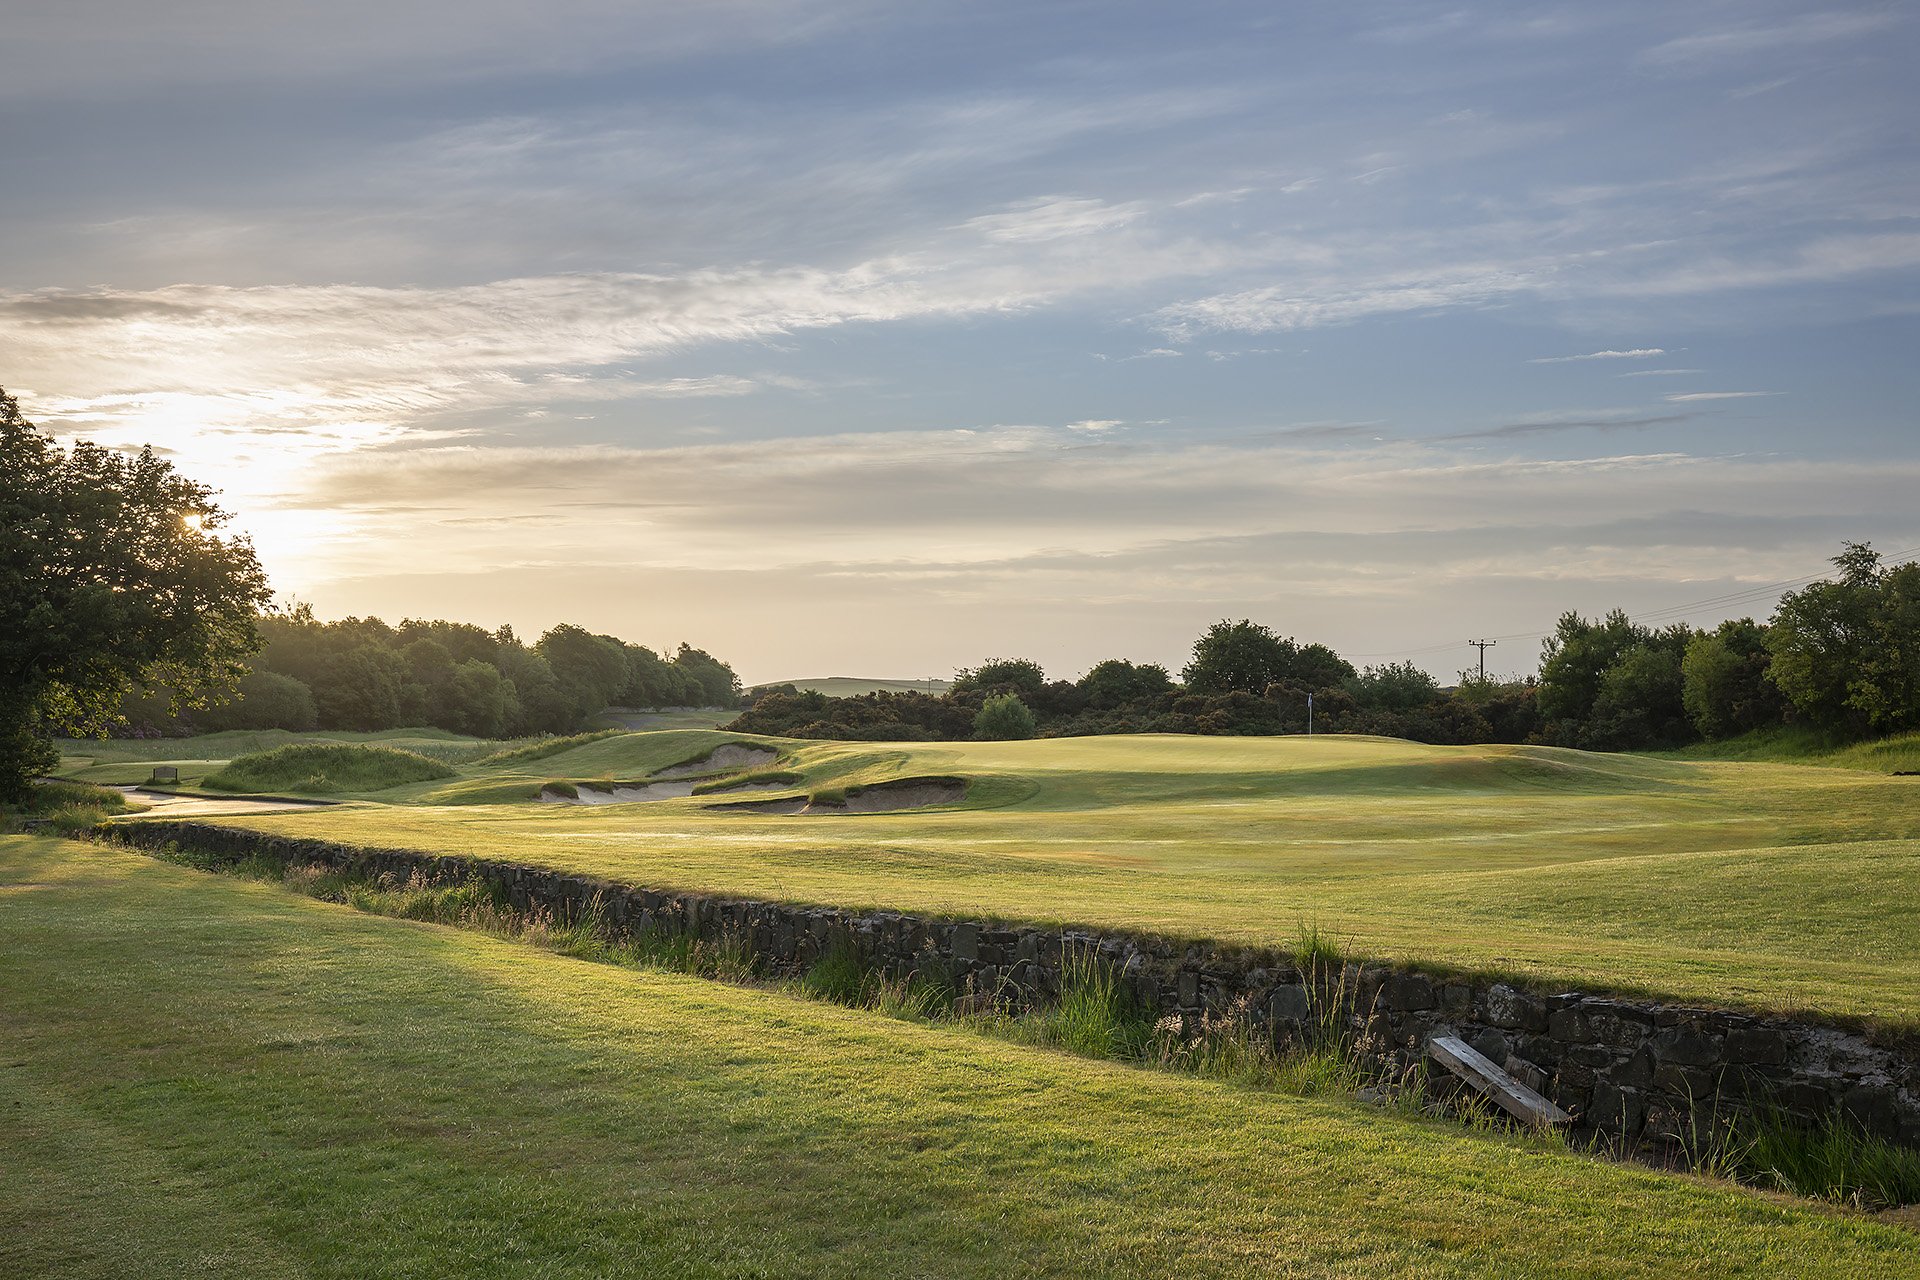
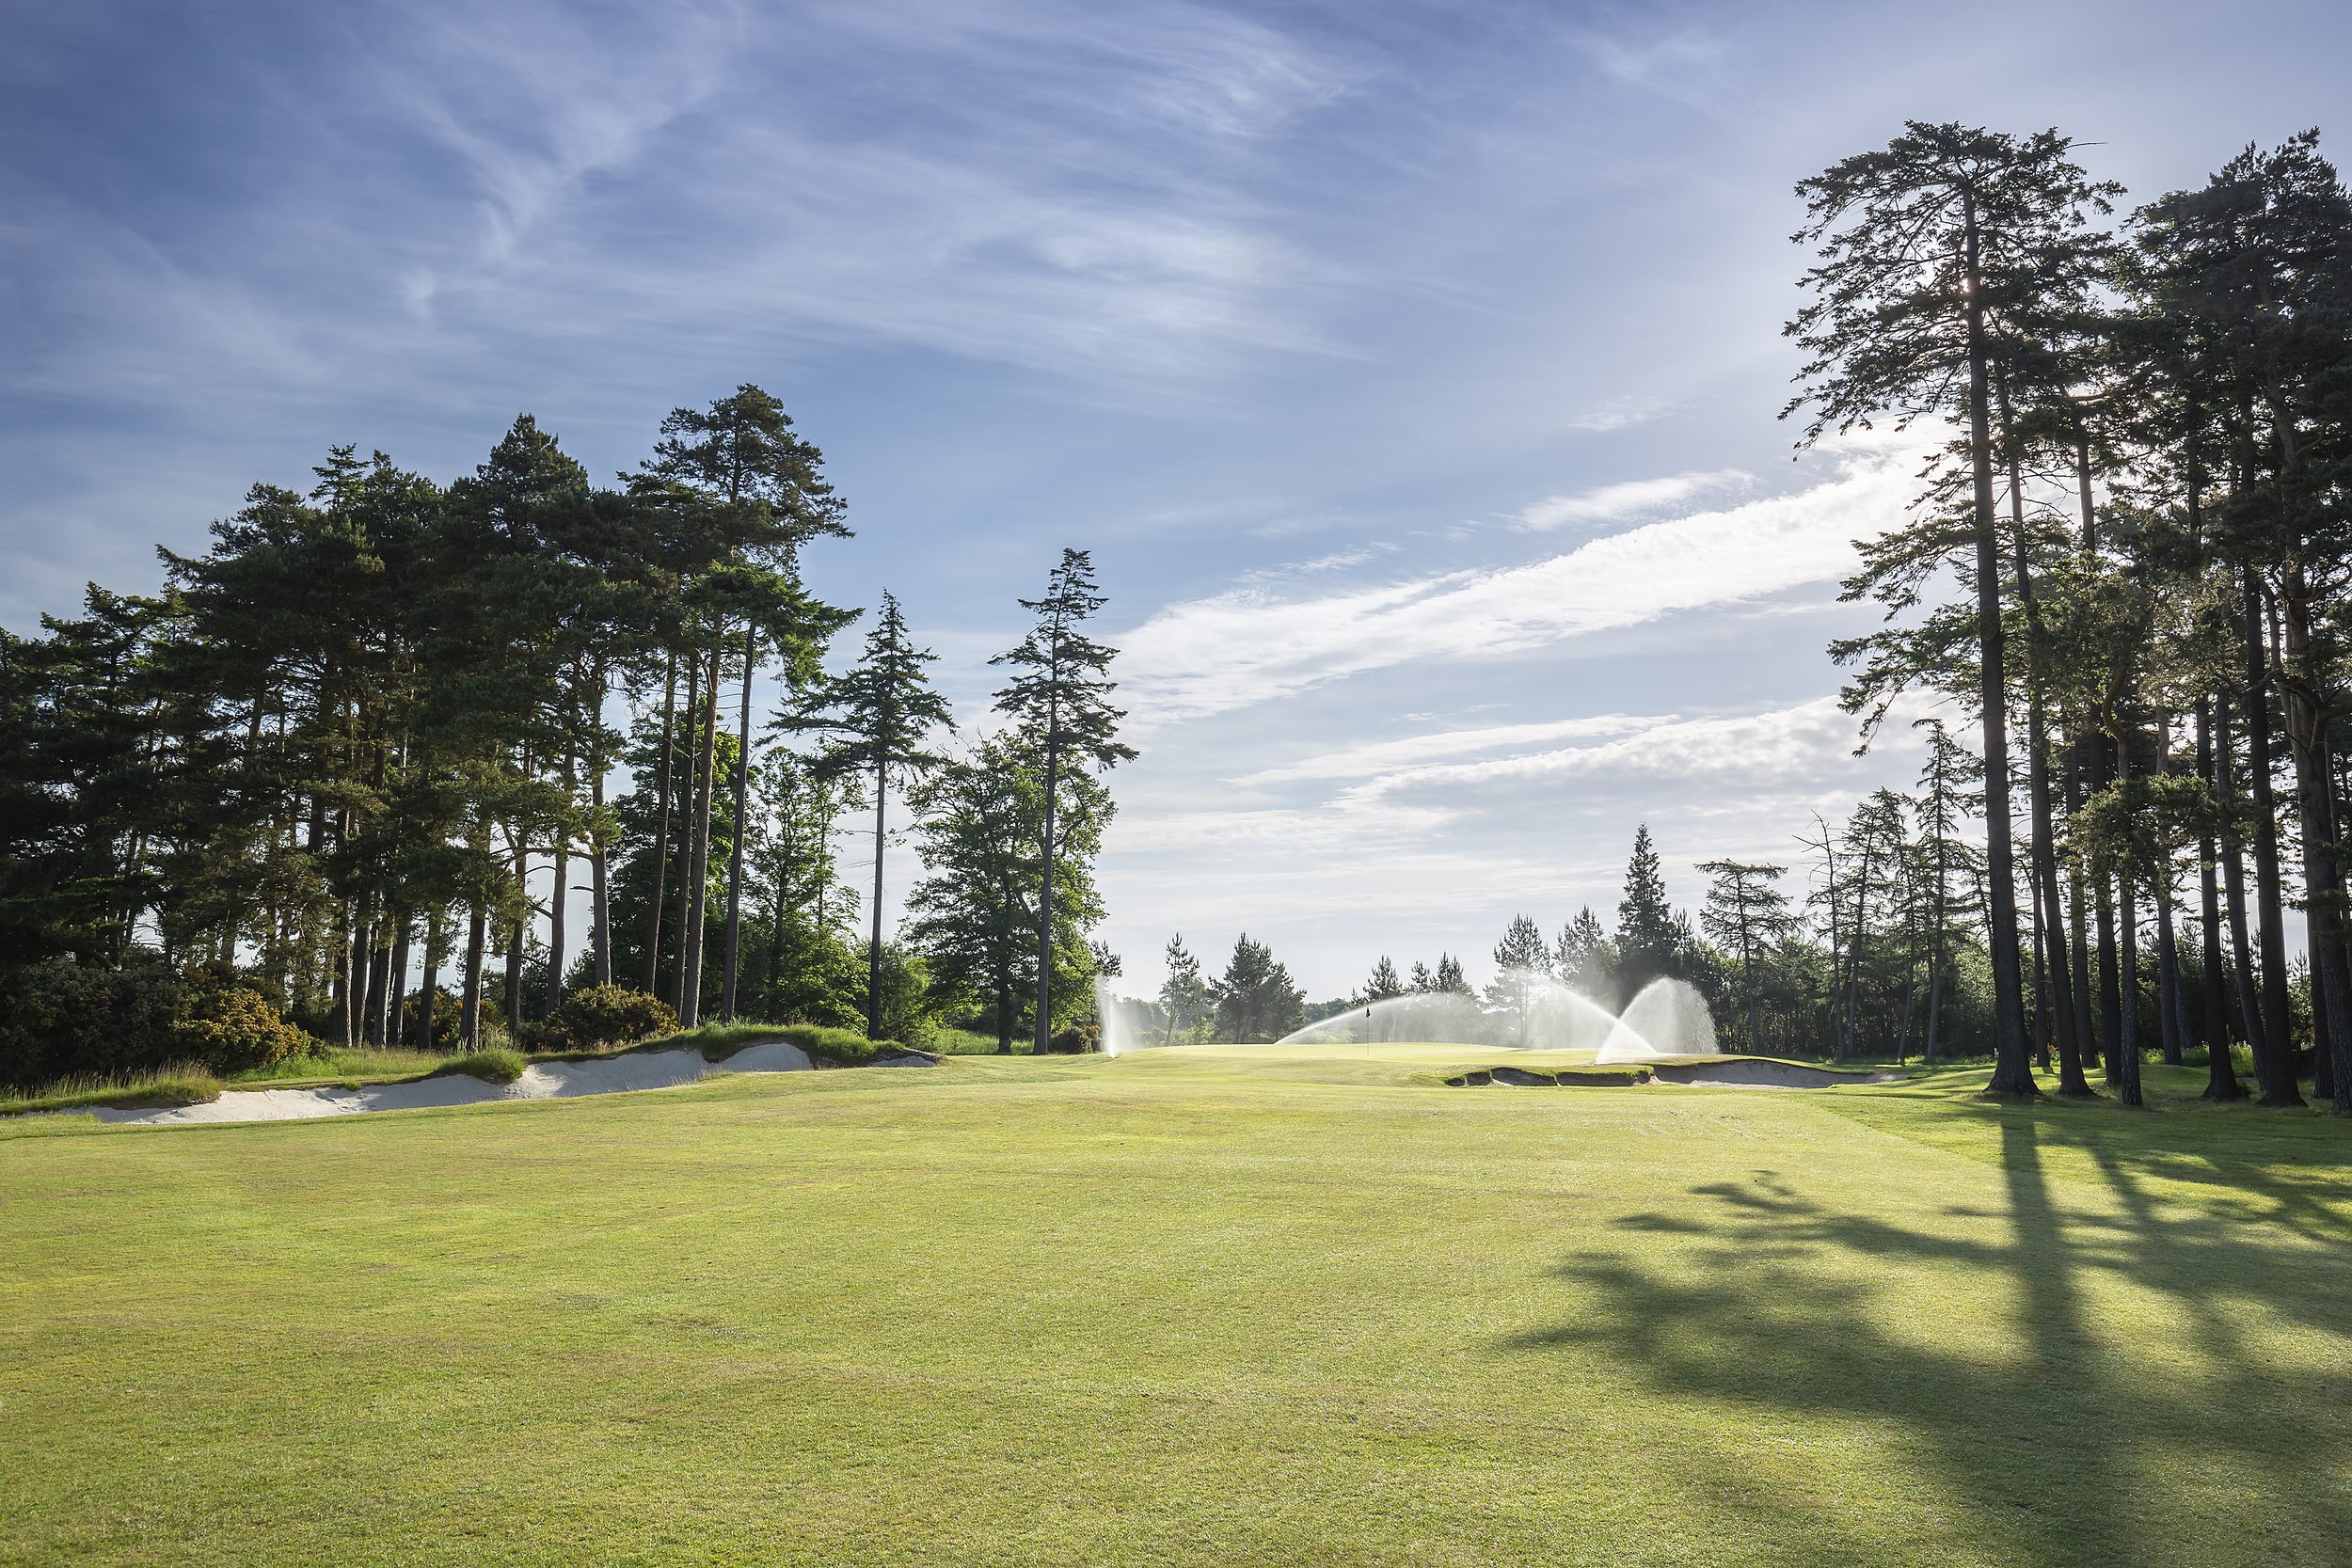
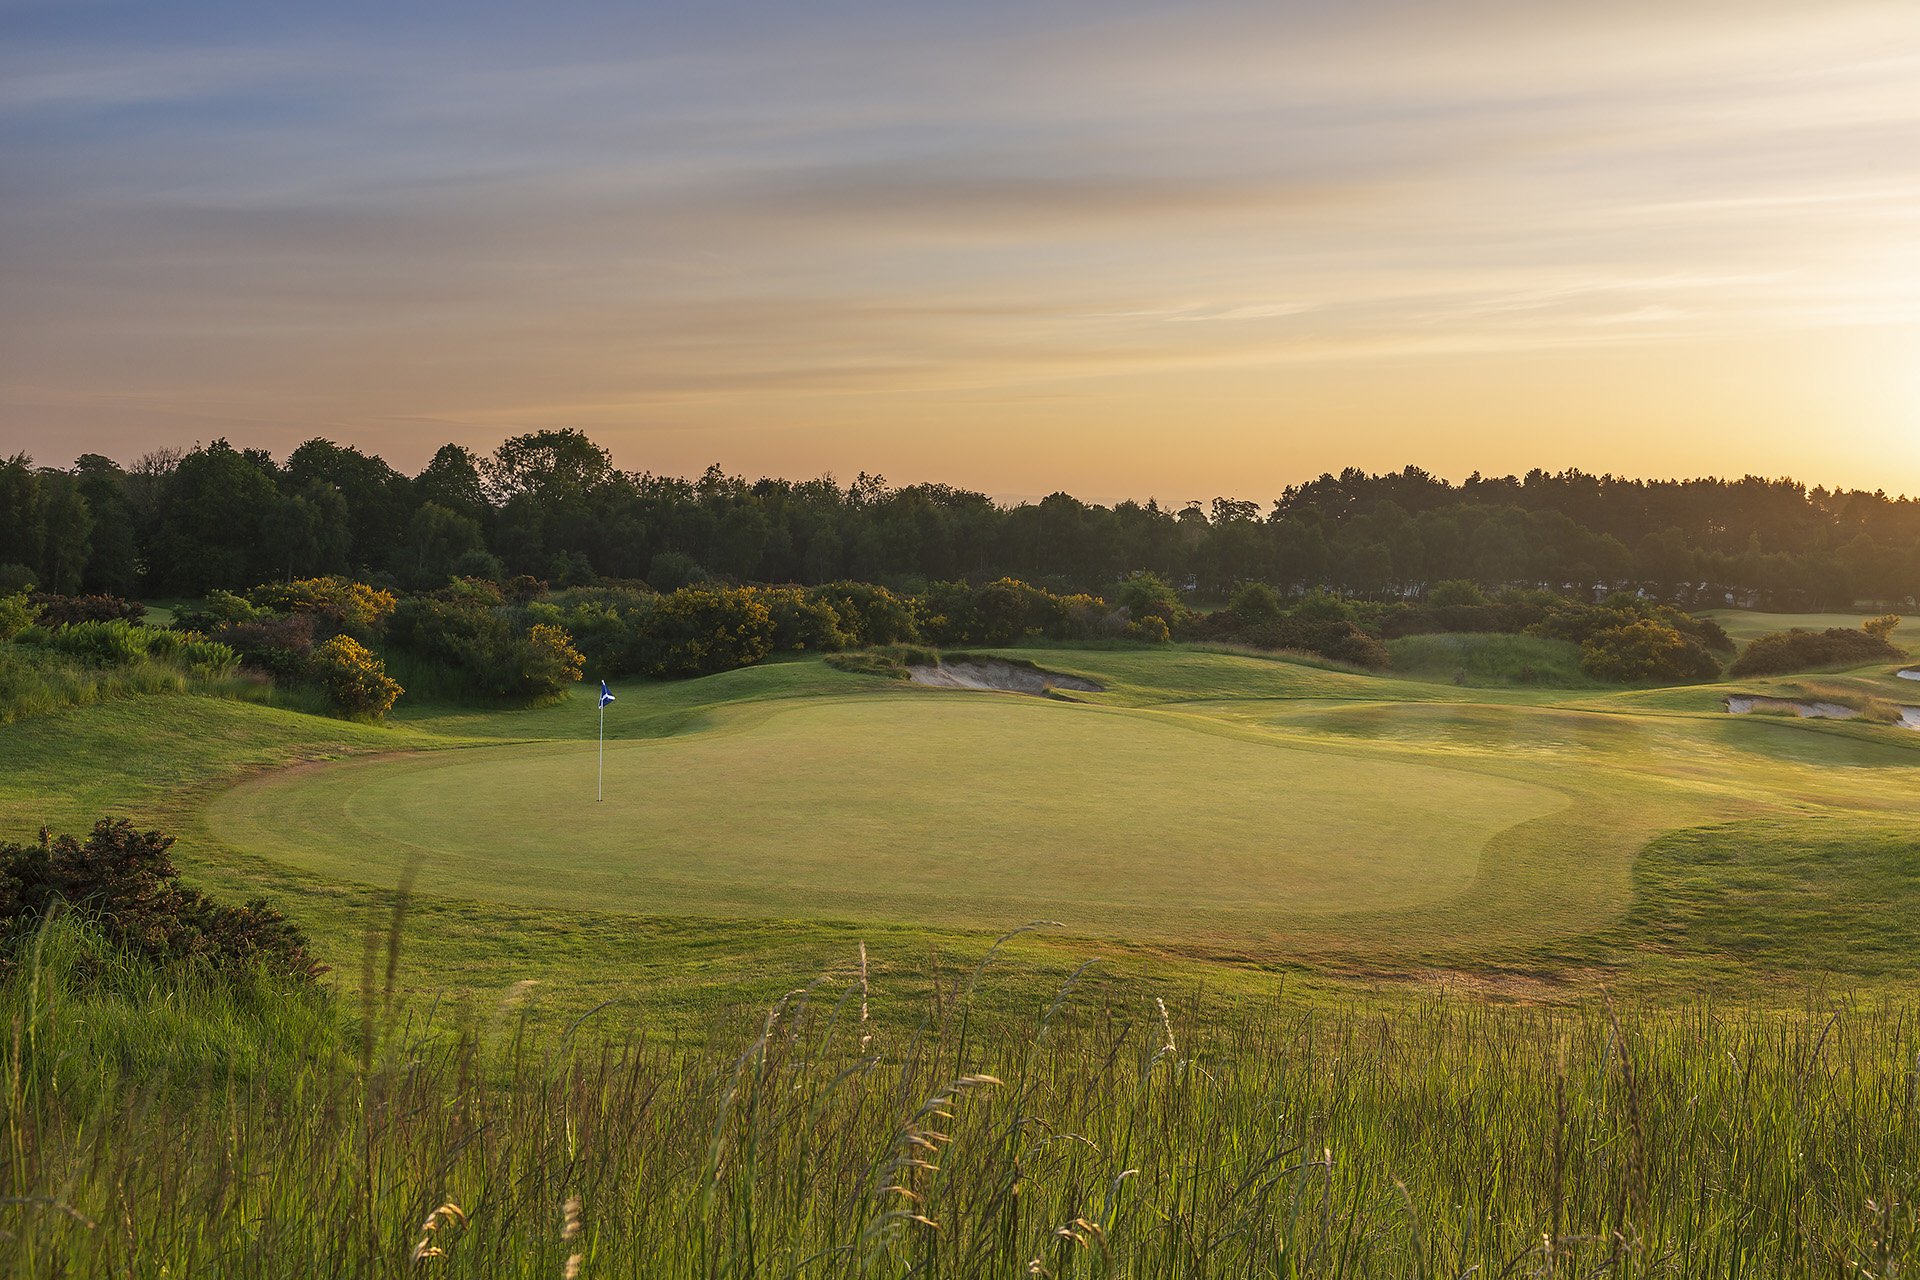
No.3 Double Dyke
This uphill par 3 demands proper club selection to a slightly elevated green with a false front. The sand bunker’s short centre creates an illusion that the green is closer than it is.
-
![]()
No.4 Braw View
Fantastic views to the north and of the town of St Andrews will take your mind off the accurate tee shot necessary to set up the best approach. Aim to the right of the left fairway bunker to land in the bottlenecked fairway. A low-running, downhill approach to an undulating front-to-back sloping green would be better served than attempting a higher, short iron approach.
-
![]()
No.5 Well
This hole has more wonderful views to the north to distract you. Be alert with your yardage; it is crucial to select the correct club for your tee shot. Challenging the burn with an aggressive tactic off the tee may leave a shorter approach but brings the water hazard into play regardless of playing to the left or right side of the burn. The approach to this undulating front-to-back sloping green accepts low run-ups as well as higher shots.
-
![]()
No.6 Steading
A long tee shot to the right side of the fairway is preferred, avoiding fairway sand bunkers along the left side. This will allow you to view the elevated green for your approach, which is heavily guarded by sand bunkers on all sides. An extra club selection on the approach is recommended.
-
![]()
No.7 Melville
This testing par 3 normally plays crosswind, and an approach to the green from the left side is preferred, allowing an excellent opportunity to putt for birdie. Sand and deep swales guard this green against errant tee shots.
-
![]()
No.8 Strath
Be bold with the tee shot anywhere between the two large oak trees, and your approach will allow an aggressive line to the green. There are wetlands right and long grasses left to guard the landing areas. This green is long and narrow and demands accuracy from a low-running or higher approach.
-
![]()
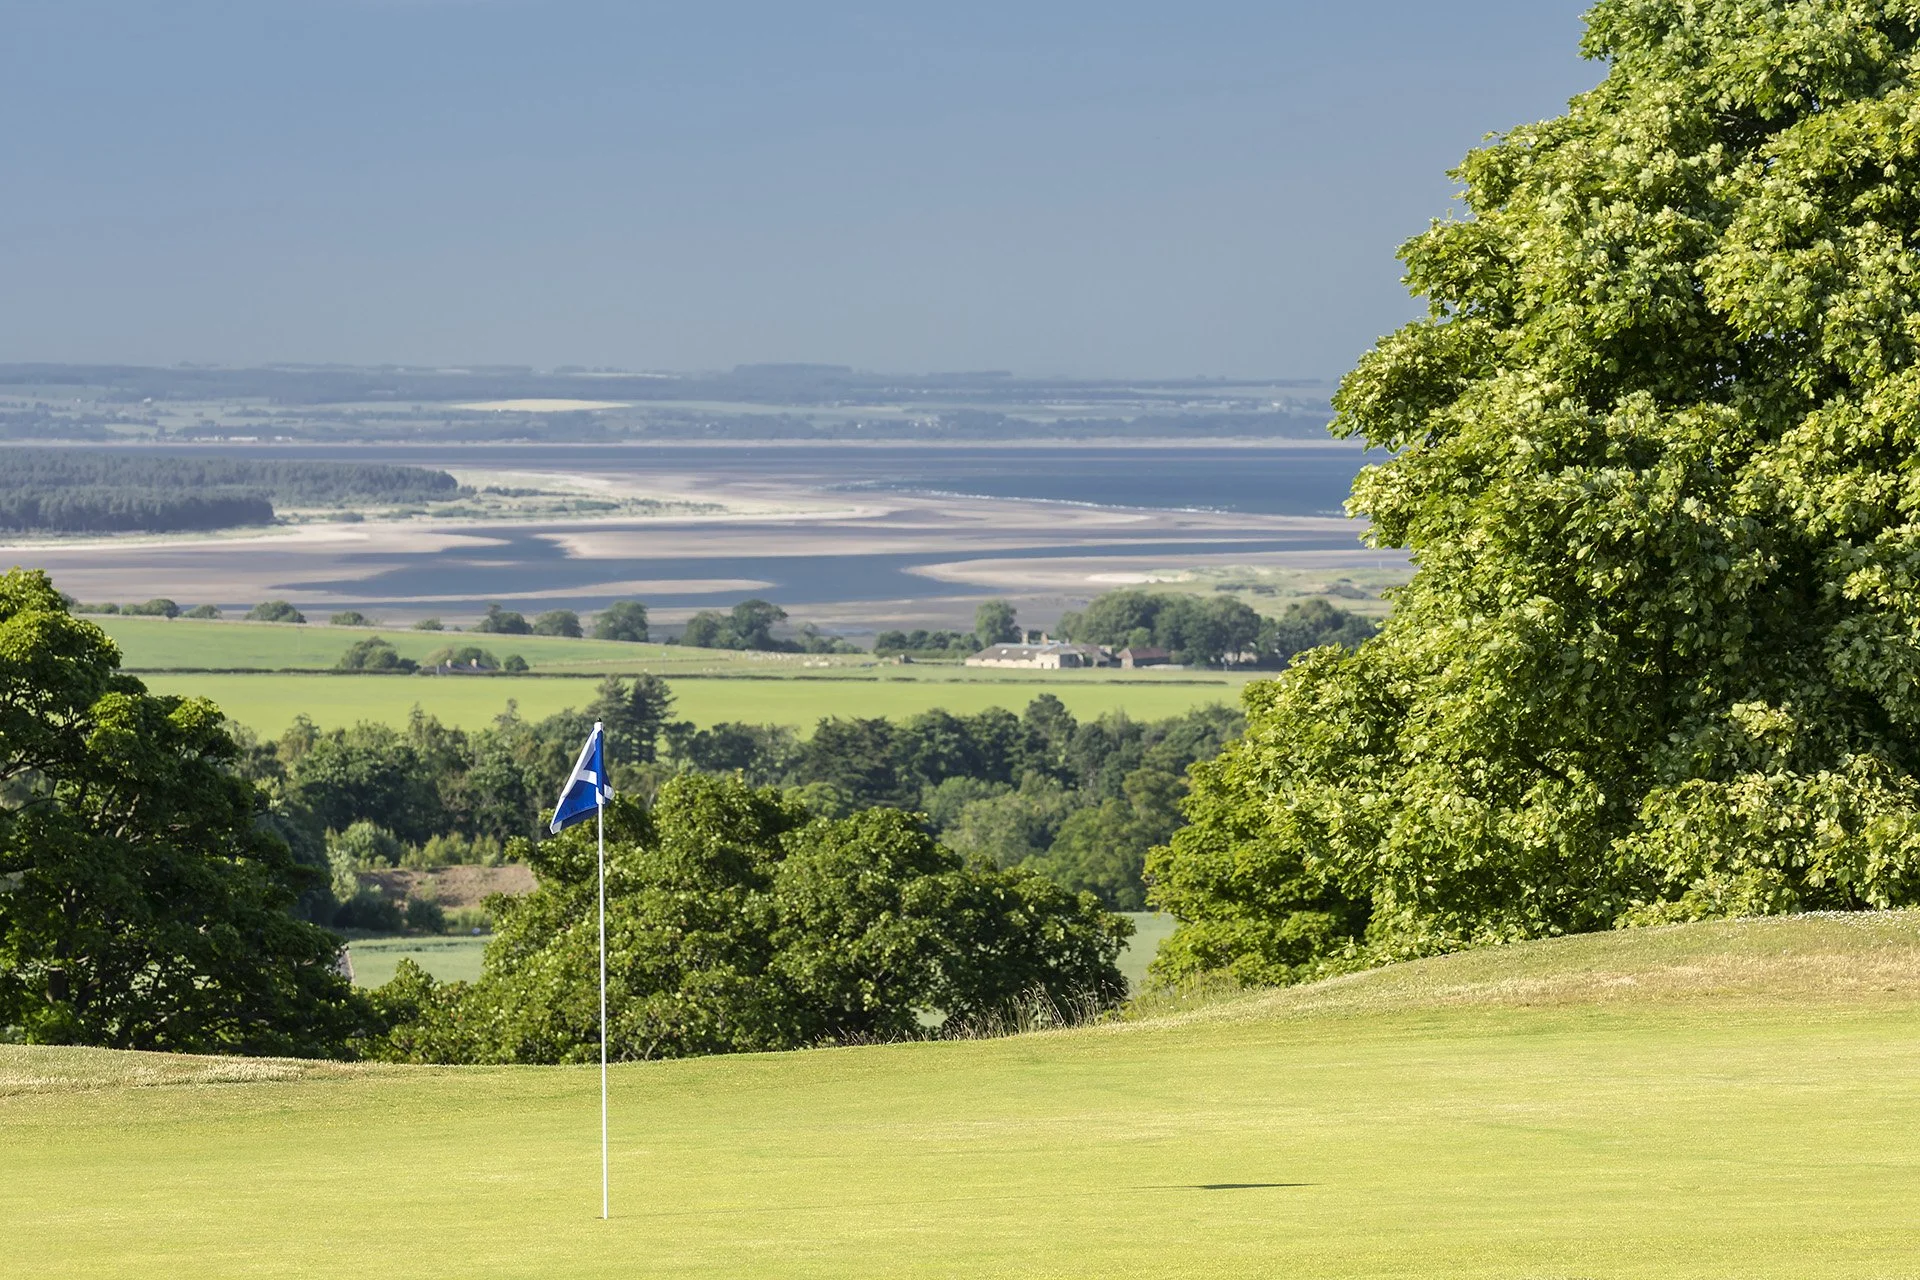
No.9 Ice House
A challenging uphill par 4, Mount demands an accurate tee shot left of the fairway bunker on the right. The green is quite elevated and demands an extra club on the approach. Deep sand bunkers left and a sharp drop-off right guard it. Putts from the centre or right side will definitely break toward the north, while a view of St Andrews may take your mind away from the task at hand.
-
![]()
No.10 Highland
From the tee, the fairway bunker on the left side of the fairway is the best line. It provides a great angle to lay up on the right side, which opens up the approach to the green. The approach is well protected by bunker complexes short right and greenside left.
-
![]()
No.11 Drumcarrow
A strong tee shot at the left fairway bunker is essential. Being in this position from the tee allows the ideal approach, with a direct line to the green. It allows for a low running shot or a higher approach shot to avoid the greenside bunker right.
-
![]()
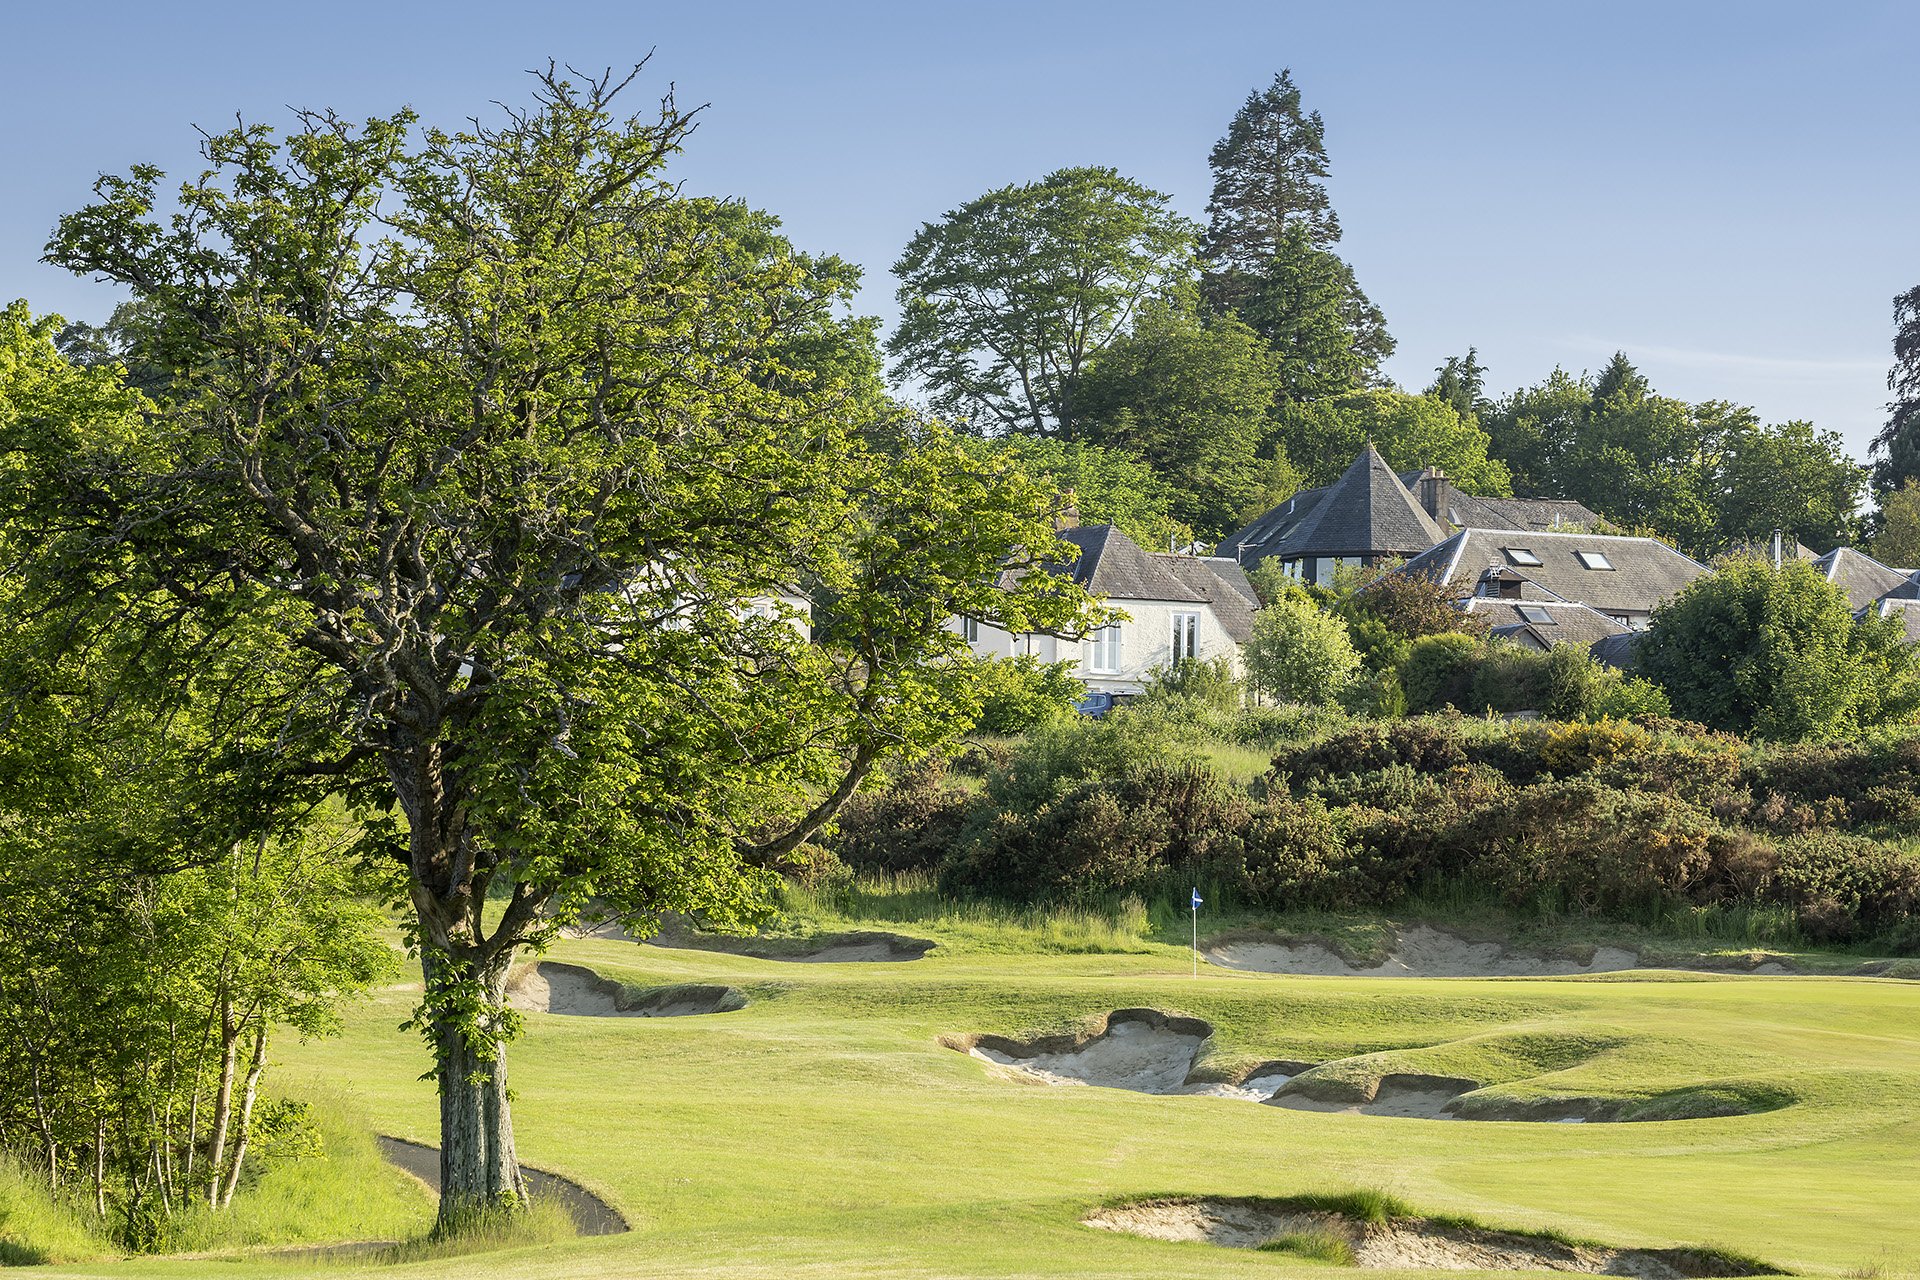
No.12 Denhead
Be aware of the crosswinds overhead; this green is well guarded with sand. Anything long or short will require a very delicate recovery. Proper club selection is vital on this visually intimidating par three.
-
![]()
No.13 Roundel
A well-placed tee shot between the fairway bunkers leaves a direct approach to this green. Anything off centre brings the greenside trees into play. The sand bunker short left is to be avoided at all costs as recovery will demand a long, blind explosion to reach the green.
-
![]()
No.14 Beeches
The illusion of a narrow fairway is a strong feature of this terrific par 4. There is plenty of landing area to the right side of the left fairway bunker, leaving a relatively short approach into the green. The green itself is far deeper than it would first seem and is well protected by sand.
-
![]()
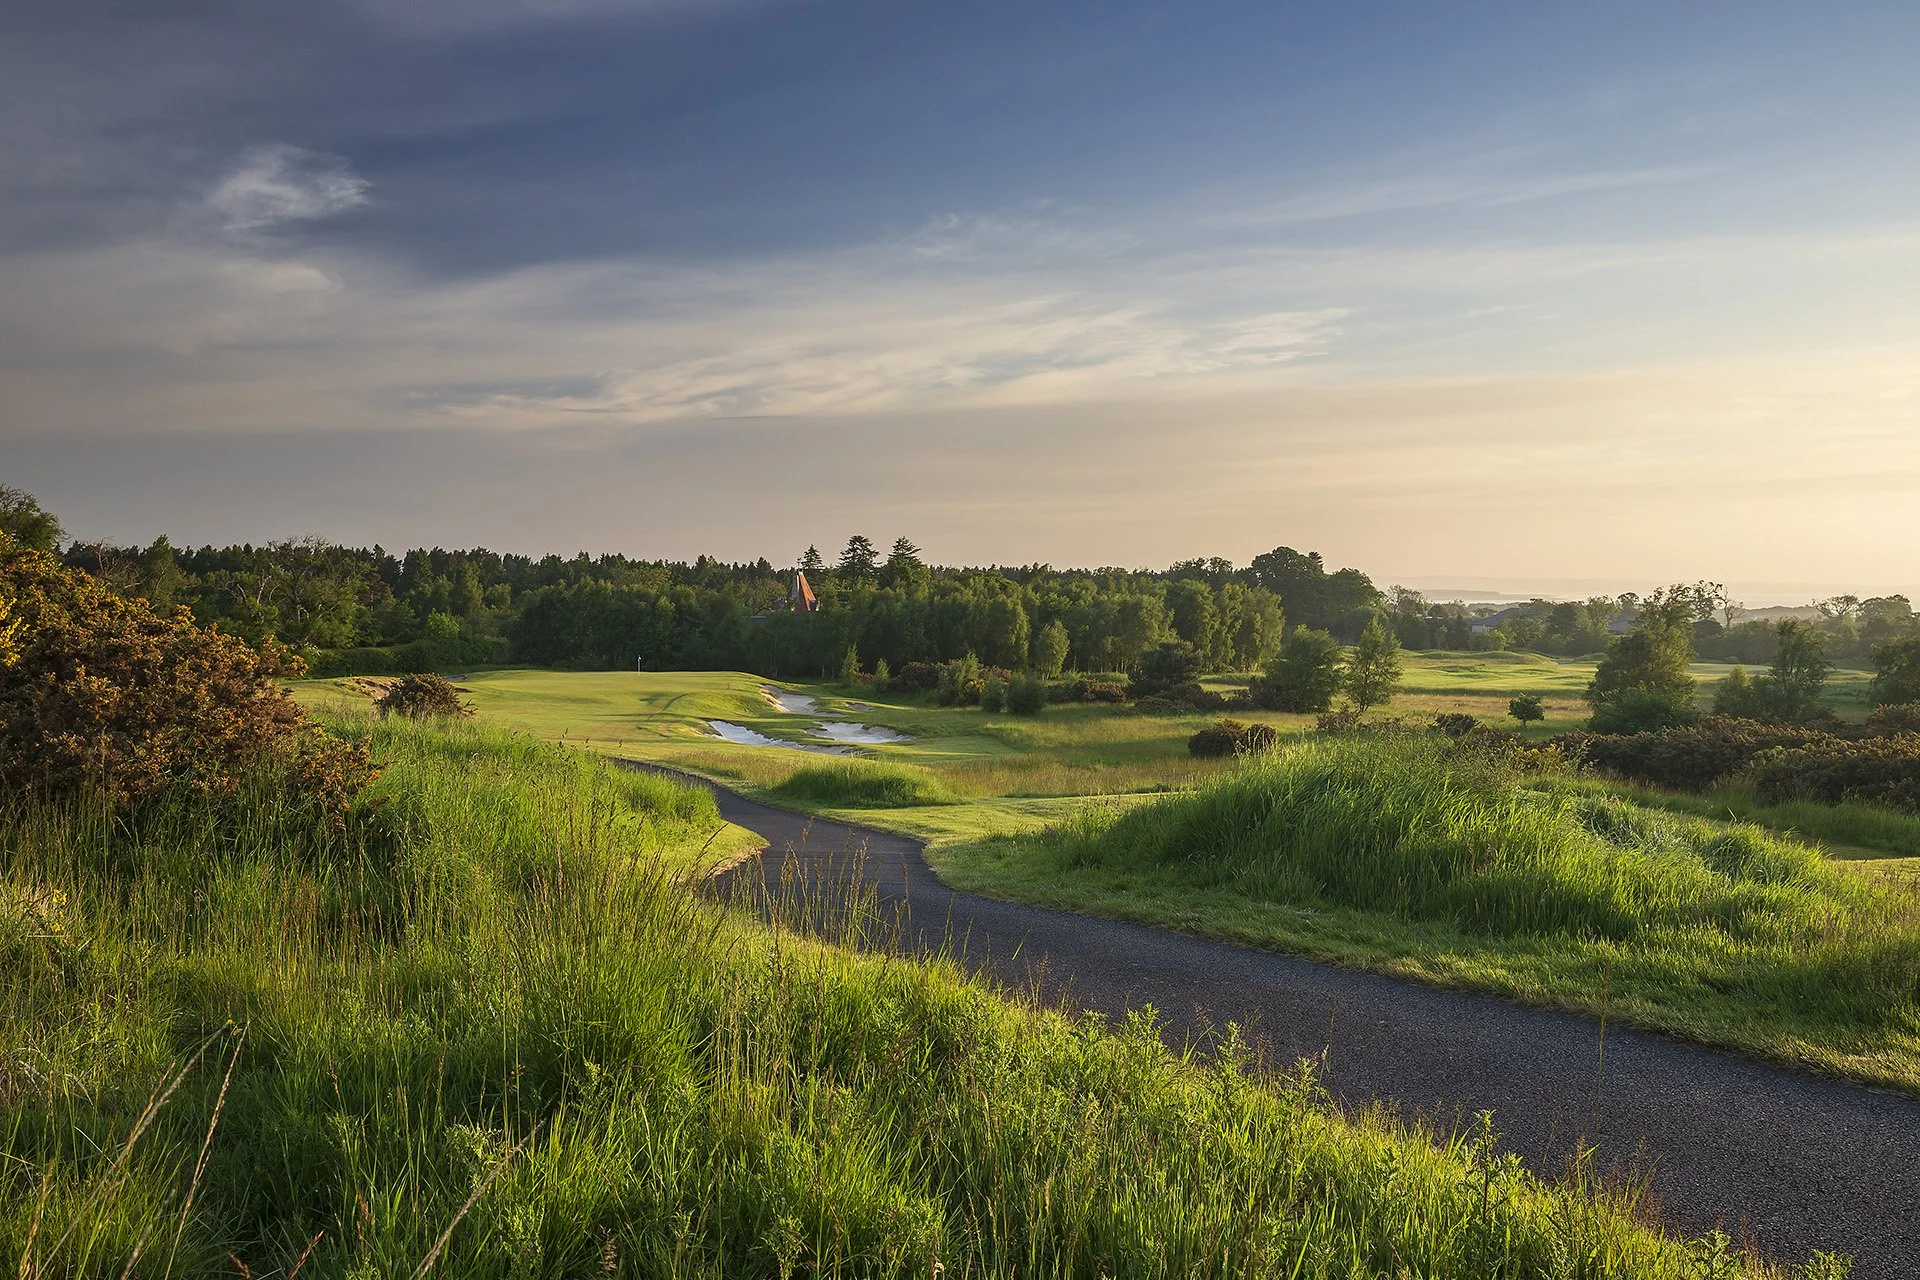
No.15 Badgers
The views to the west and north can be distracting. From these elevated tees a well-placed downhill tee shot must be right of centre on this right to left sloping fairway. Bunkers heavily guard both the second half of this fairway and green. The three-shot option on this hole is the wise plan to set up a birdie attempt.
-
![]()
No.16 Debrae
A fantastic par 4 with spectacular views, this hole’s elevated tees allow you to see the complete hole. An aggressive line just to the left of the large, double-sided fairway bunker on the right puts you into the perfect position to approach the green. A low run-up approach often rewards you by helping get the ball to the hole.
-
![]()
No.17 Fair Dunt
This aptly named, testing uphill par 3 requires a strong stoke. The best advice here is to take at least one club more than the yardage. Leaving yourself an uphill putt is vitally important, as anything long or to the sides leaves you with a very delicate shot.
-
![]()
No.18 Craigtoun
The right side of centre should be favoured from the tee, as the fairway slopes to the left, allowing you a flat lie to face your approach to this well-guarded and elevated green. Accurate approaches are vitally important, as severe side swales will leave a very tricky recovery to the narrow green.